Metrics
Default Metrics for Data Quality
Overview
Data Quality Metrics determine the quality of the Datasets in the configured Datasources. Default Data Quality Metrics are associated with the following categories:
Data Completeness
Data Timeliness
Data Conformity
Data Accuracy
Data Consistency
Data Drift
Data Uniqueness
Default Data Quality Metrics are enabled by Qualdo, with one exception. The Data Consistency metrics must be manually configured.
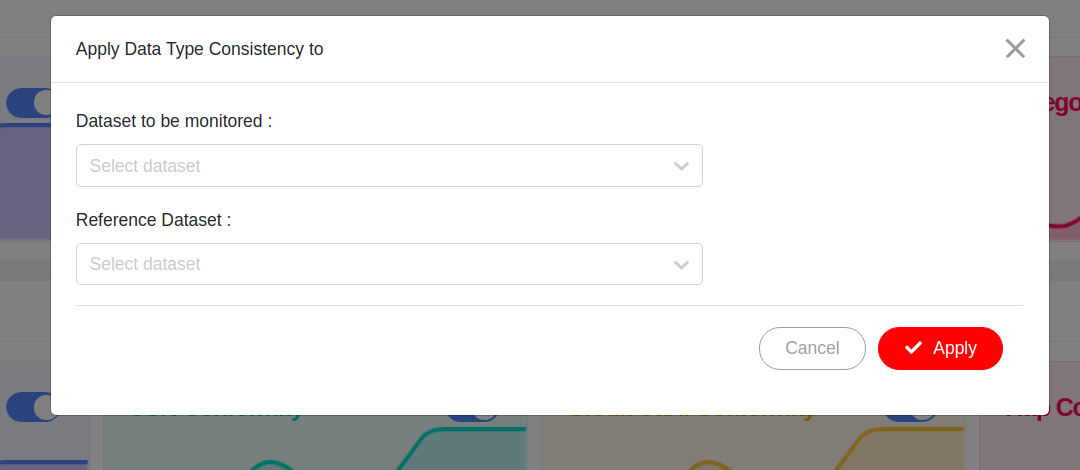
Data Consistency metrics will monitor the degree to which two Datasets are in sync. Users need to provide the input Datasets to enabling Data Consistency monitoring.
Users can enable Data Consistency metrics by clicking the Enable/Disable button present on the metrics Flash Card.

After clicking the Play button, a dialog is raised to select the Reference and Target Datasets to monitor.
Redefining the Default Metrics
Default Metrics are typically redefined by adjusting the default threshold value with two exceptions. Data Completeness and Data Conformity metrics can also be redefined by modifying its metric definitions. To start the redefining process, follow the following instructions:
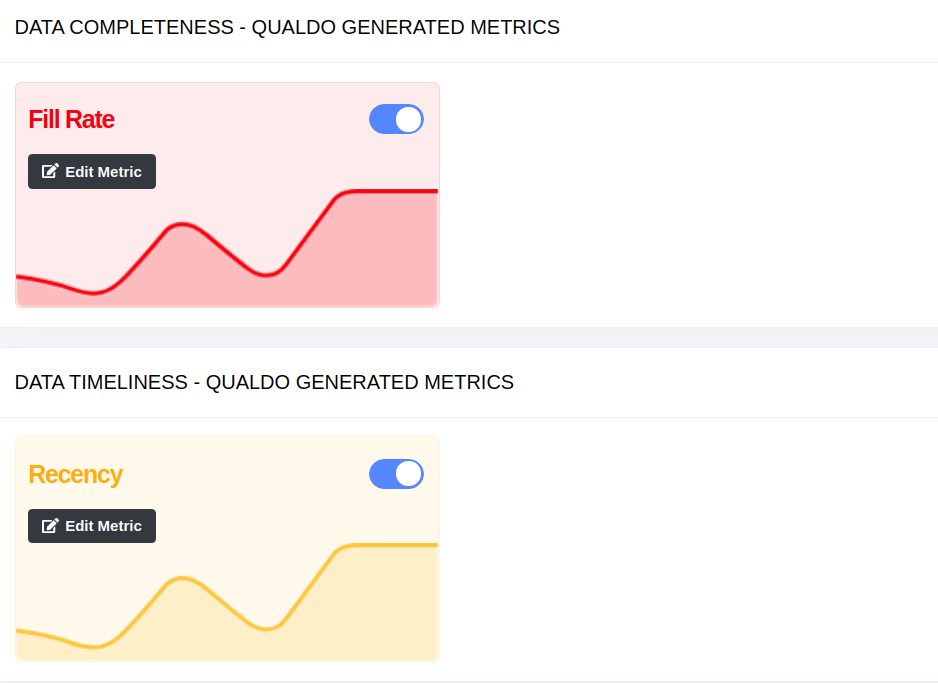
From he Metrics menu, click the Data Quality Metrics tab.
You’ll be taken to the Data Quality Metrics page where you can add and edit metrics.
- Click the Edit Metric icon from the metrics Flash Card, which you want to redefine.
- Follow the prompts and enter required information.
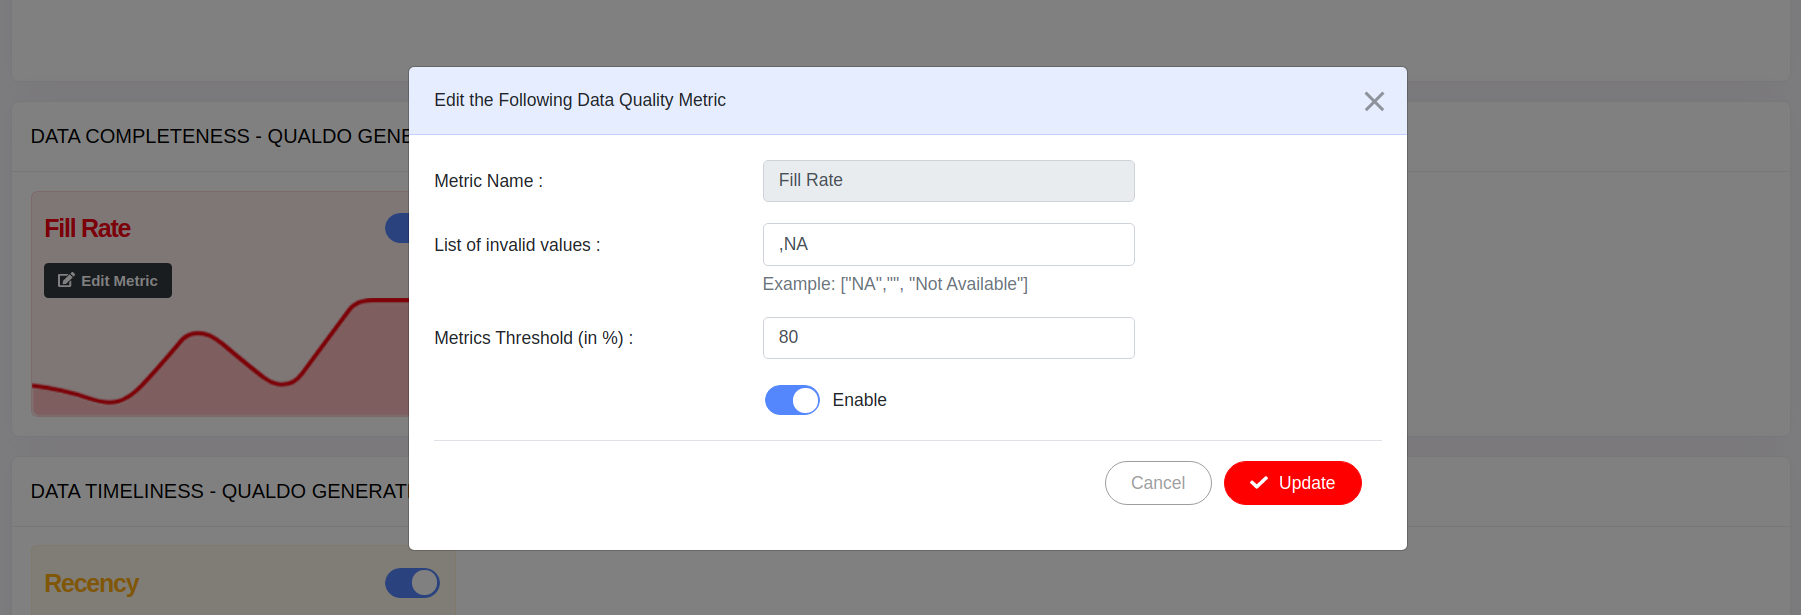
When you finish, click Update button to save your work.

The Fill Rate metric definition in the above image has been redefined by adding extra invalid value ‘Empty’ to the default list, available in Qualdo.
Custom Metrics
Adding a Custom Data Quality Metric
Following are the list of instructions to create Custom Data Quality Metric:
From the Metrics menu, click the Data Quality Metrics tab.
Click Custom Metrics tab to add metrics.
Click the Add Custom Data Quality Metrics button to configure a new Custom Data Quality Metric.
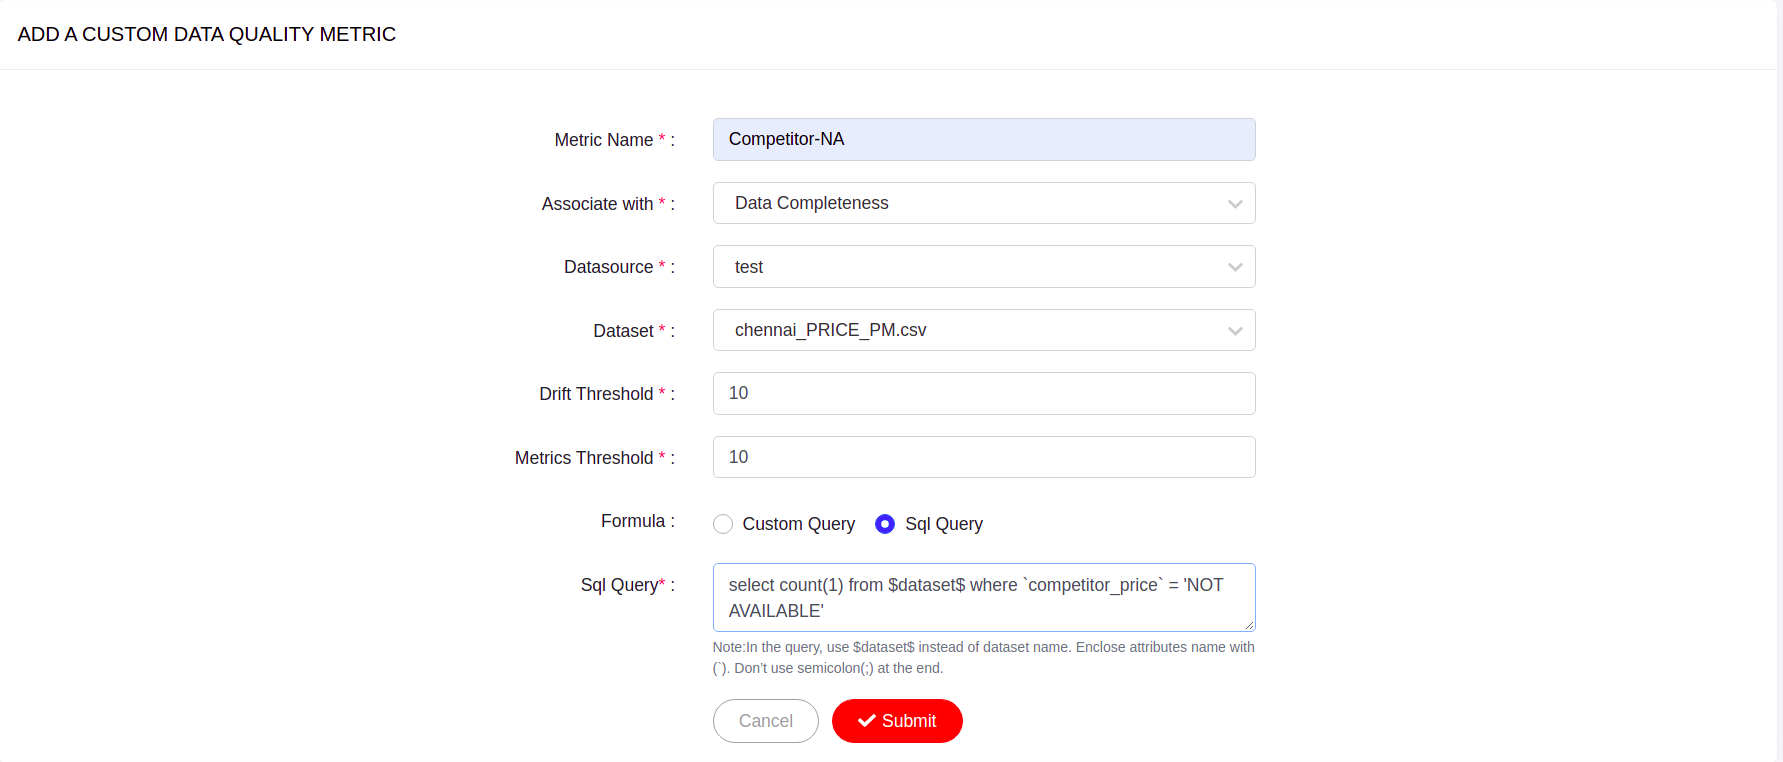
Metric Name - Enter a name for this metric.
Associate with - Select the association group to which you want to map your metric.
Datasource - Select the Datasource.
Dataset - Select the Dataset on which the metric is to be enabled.
Drift Threshold - Provide the drift threshold for the metric.
Metric Threshold - Provide the threshold for the metric.
- Formula - Custom Query/SQL Query.
Choose Custom Query, if you want to define the metric with the aggregation function(s) supported in Qualdo .
- Choose SQL Query, if you want to define the metric with the sql query.
- Points to remember while writing the query:
Use $dataset$ identifier instead of Dataset name.
Enclose Attribute name with (`) in the query.
Don’t use semicolon(;) at the end of the query.
The query should return aggregated value. For example: Count, Min, Max and similar functions.
Click Submit to save your metric.
For example, if the user want to track the count of ‘Not Available’ prices in one of the price benchmarking report, they can create a Custom Metric, by writing a SQL Query. The below image shows how to define a Custom Metric with a SQL Query for the mentioned scenario.
Note
Configured metrics are listed in the table view at the top of the Data Quality Metrics page.